

Photographing the Northern Lights
An airline ticket and the right gear are the key to epic aurora photos
Despite living in southwestern British Columbia, I’ve managed to enjoy some surprisingly good northern lights displays over the past several years. But for the most dramatic showings, the best strategy is to travel to a location where auroras occur frequently. If you’re considering a similar trip, here are some suggestions to help you return with great images.
Getting In Gear
The first item on your packing list should be **a sturdy tripod and ball head**. Even with the increasingly strict size and weight restrictions for checked baggage on most airlines, you’ll want to take one as carry-on. Proper support will guarantee steady pictures and could prevent a costly tip-over of your precious camera and lens when shooting on uneven terrain or in windy conditions—a frequent occurrence in Iceland.
When it comes to choosing lenses, be sure to opt for a **wide-angle model**—the wider the better. This allows you to capture sky-filling displays, while also incorporating some foreground landscape to add scale and interest to your images. Unlike normal wide-field astrophotography, where the subject is stationary, a northern lights display changes very quickly—sometimes on a timescale of just a few seconds, particularly during an active aurora. That’s why a fast lens (with an opening of f/2.8 or wider) is possible. Such an optic will allow short exposure times, which is crucial to retaining fine detail as the aurora dances across the sky.
Once set up, focus your lens on a distant streetlight or bright star. You’ll likely need to switch to manual focus and utilize maximum magnification on your camera’s live-view screen to make sure everything is tack sharp. Take your time here—there are few things more heartbreaking than discovering that all your images are slightly out of focus when you review them on a big computer screen the next day.
Next, put your camera in manual mode and set the lens to its widest aperture. For image type, select RAW (not JPEG) and use the highest resolution your camera is capable of. This offers the greatest flexibility during preprocessing for bringing out highlight and shadow detail and allows you to tweak the white balance after the fact. Starting with a shutter speed of around 15 seconds at ISO 1600, take a number of test shots, varying the exposure time to see what produces the best results with your specific gear and the current sky conditions. When evaluating your tests, don’t rely solely on the camera’s screen, especially if you’re inspecting it in the dark. Instead, use the RGB histogram display. A well-exposed image will have the individual red, green, and blue histogram “humps” fully separated from the left side of the graph but without extending much past the halfway point. Also, ensure that you don’t see a spike at the right side of the histogram, which would indicate overexposure. During active displays, check your results regularly—the aurora can brighten dramatically in a short period of time, causing your images to suffer from blown highlights.
Shoot to Thrill
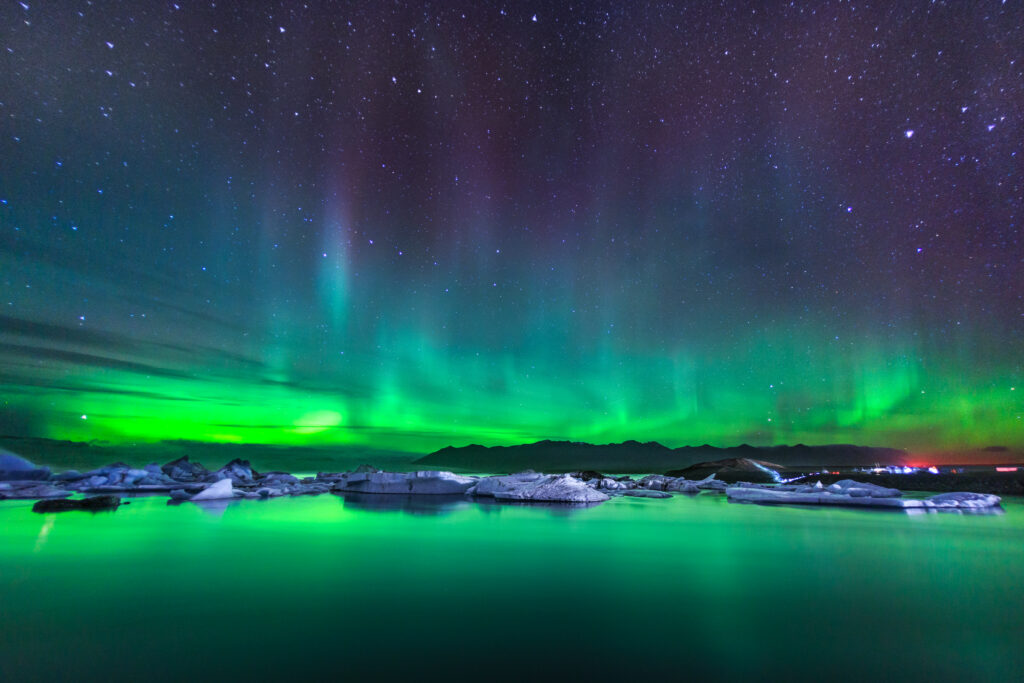
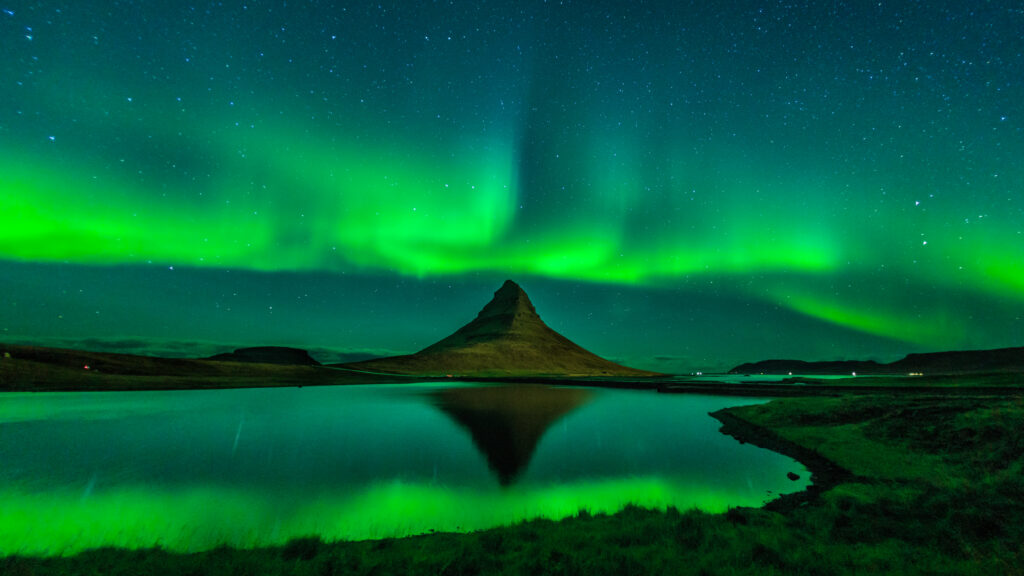
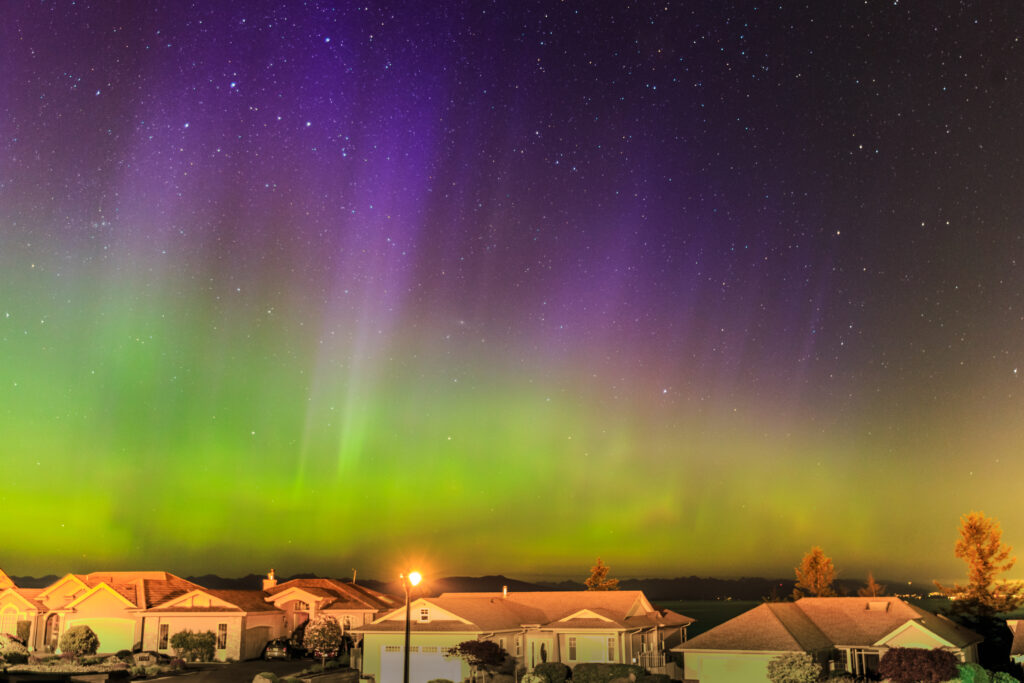
While it’s tempting to point your camera straight up to frame as much of the aurora as possible, you’ll get a more compelling portrait if you include an interesting foreground, such as a building, trees or distant mountains. If the night is calm, nearby lakes and rivers can act as mirrors to reflect the sky, thereby increasing the impact and adding symmetry to your photos.
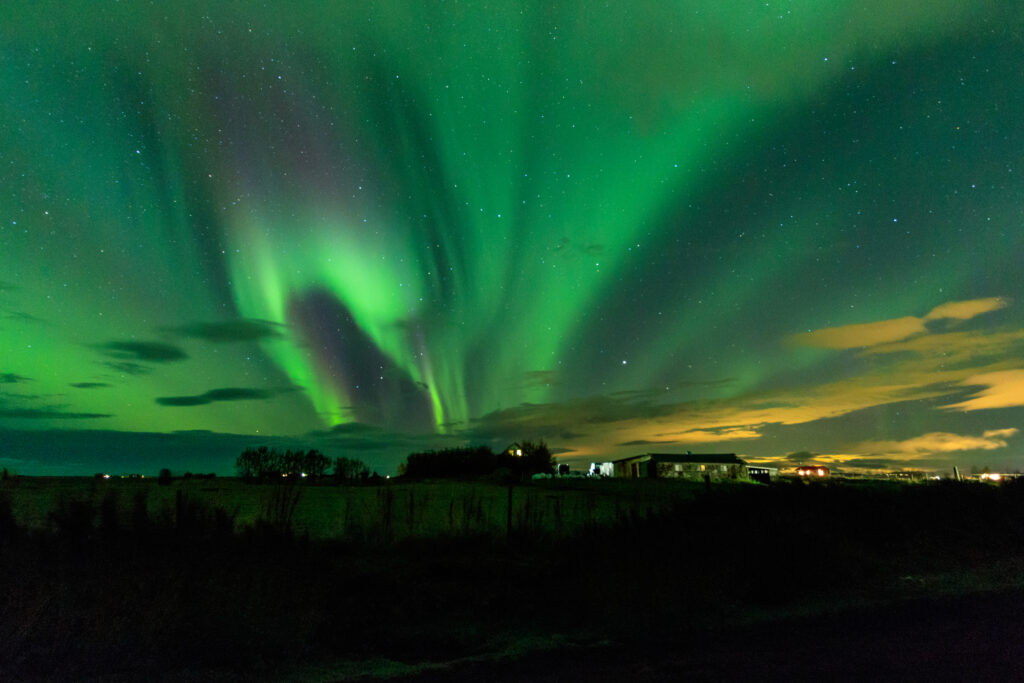
Once you’ve aimed and leveled your camera and found the appropriate exposure time, take plenty of shots—one right after another—to increase the chances of getting an appealing image of the rapidly changing light show. A cable release is really handy, since you can put the camera in continuous drive mode, lock down the exposure button and walk away while you take in the view. Of course, all this advice assumes that the weather cooperates and that there’s something to photograph in the first place. Aurora forecasting sources, such as the Aurora Watch page on the SkyNews website (www.skynews.ca/aurora-watch), are certainly helpful, but, inevitably, you’ll need to rely on luck for trips that are often planned months in advance. During my three-week visit to Iceland, everything came together on only three occasions, resulting in the photos you see here. Even if all you get is a single clear, moonless night with just one fantastic aurora, I promise you the entire trip will be worthwhile!
Tony Puerzer is a full-time professional photographer and part-time amateur astronomer living in Nanaimo, British Columbia.